For Conrad and co.
This will certainly not be the night you planned, but hopefully you’ll be able to make the best of the night with some good food, good drink and great conversation.
So the meal delivery will be a bit different in this wonderful Covid world in which we live. All of the food is packaged up in single serving portions, ready-to-create packs for each person. Kris and Alana will be sorting out that step.
What you’re going to need:
To prepare your dinner tonight you will need a few things:
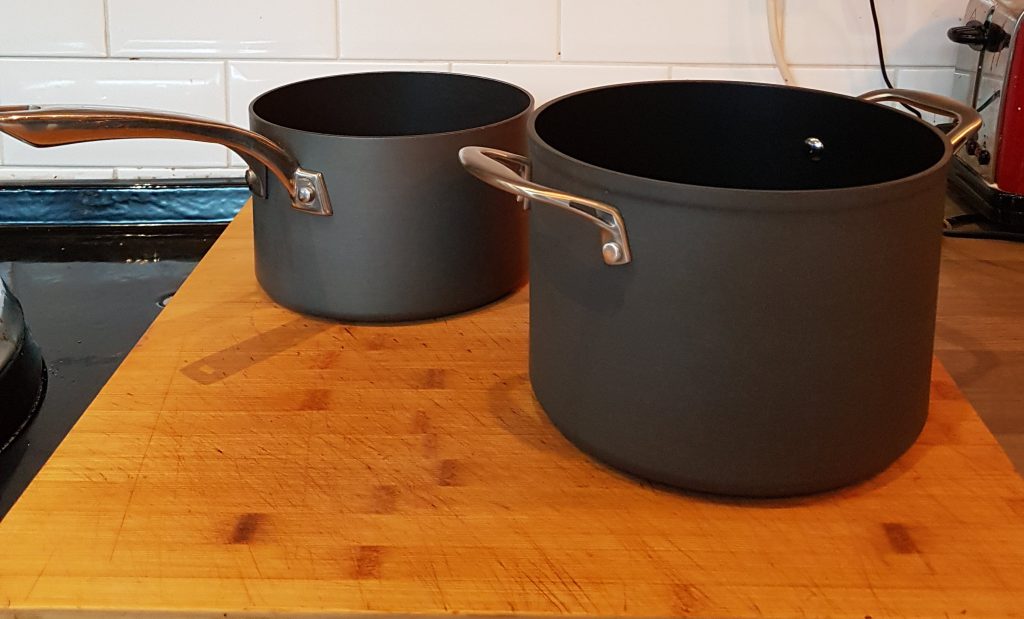
1. Large pot of boiling water; ideally about a 4-5 litre pot.
2. Toaster or grill
3. Microwave or small sauce pan
4. an oven (not essential but it helps)
5. And of course, some plates and cutlery.
Don’t panic – this will be as easy as a ready-meal from Tesco!
Starter
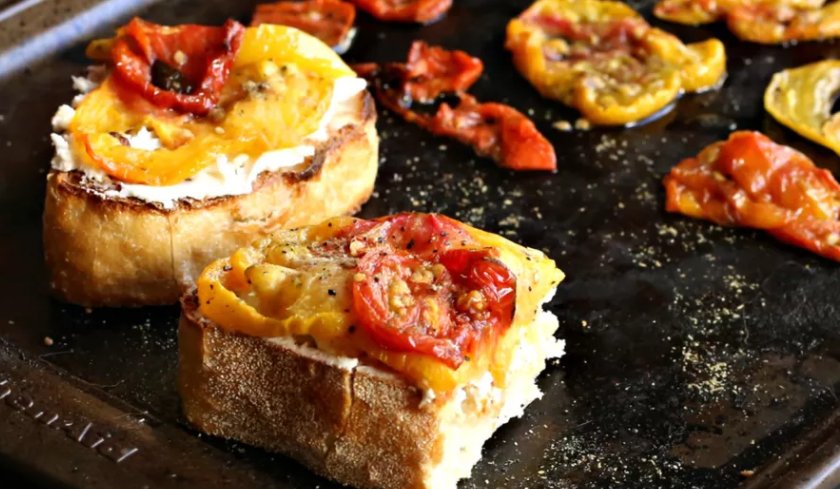
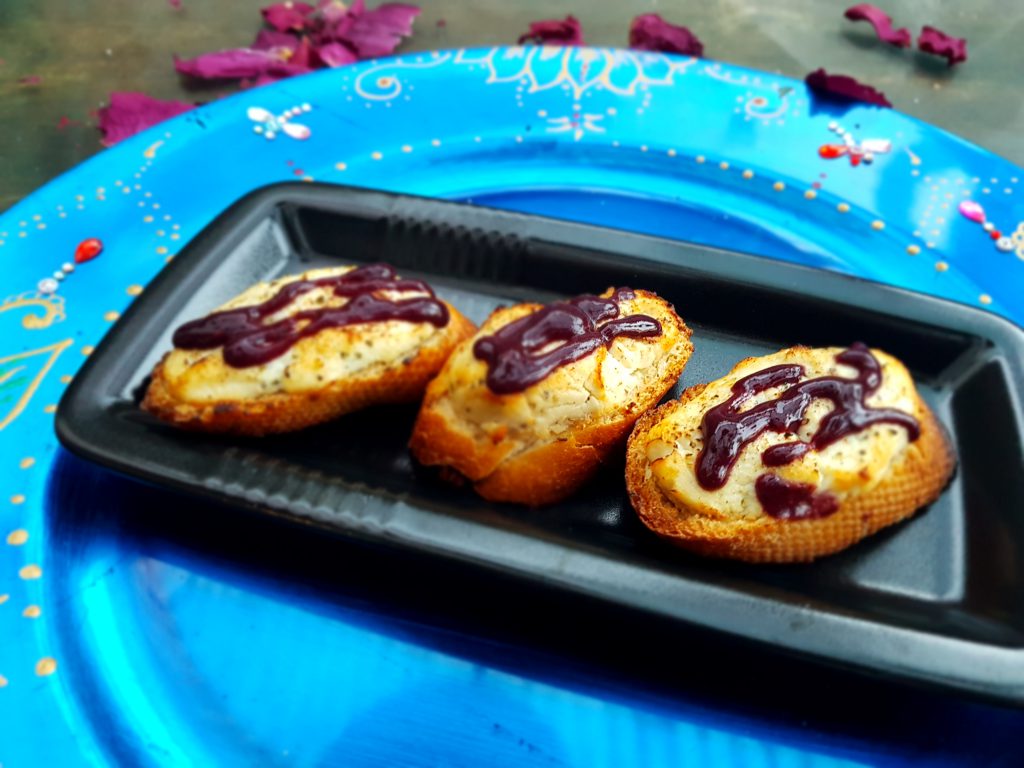
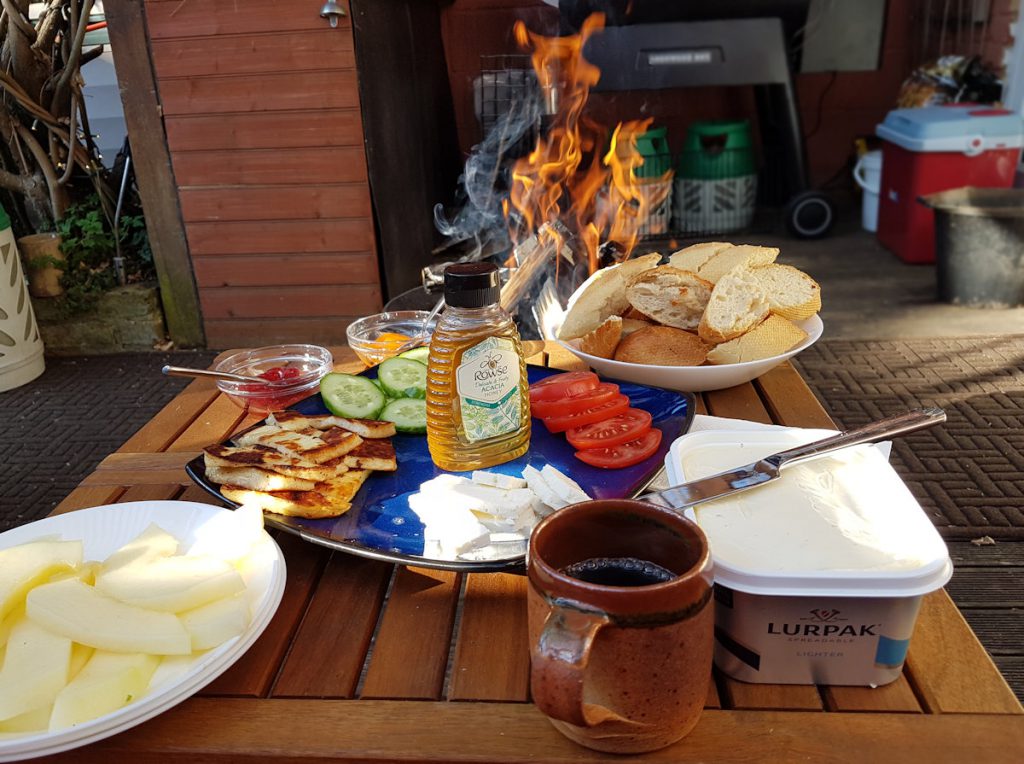
Sourdough crostini
topped with minted feta, roast organic cherry tomatoes and Za’tar spice
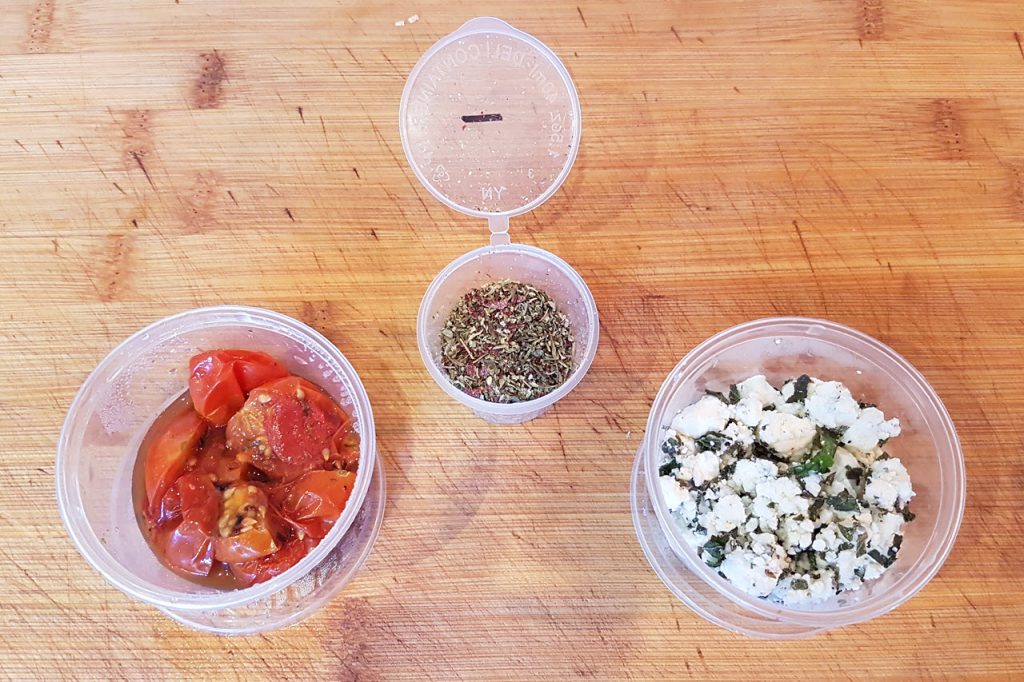
Gather up your sourdough bread slices, the tub of roasted tomatoes, the small tub of spice and the tub of minted feta. They should all have a ‘1’ on the top.
Pop the sourdough slices in your toaster or put under the grill until nicely browned with crispy edges. Spread some of the minted feta over the top.
Now you can put the tomatoes on chilled, but it’s even better if you warm them just a bit in your microwave — probably just 20 seconds; you’re looking for warmed, not hot. Either way, place them on top of the feta in a nice, even layer and sprinkle with the Za’tar spice. Start with a light sprinkle and try it. You can add more but it’s tough to take it back off!
Serve this with a nicely chilled Chardonnay, dry Sauvignon Blanc or a Pale Ale.
Next up…the fish course.
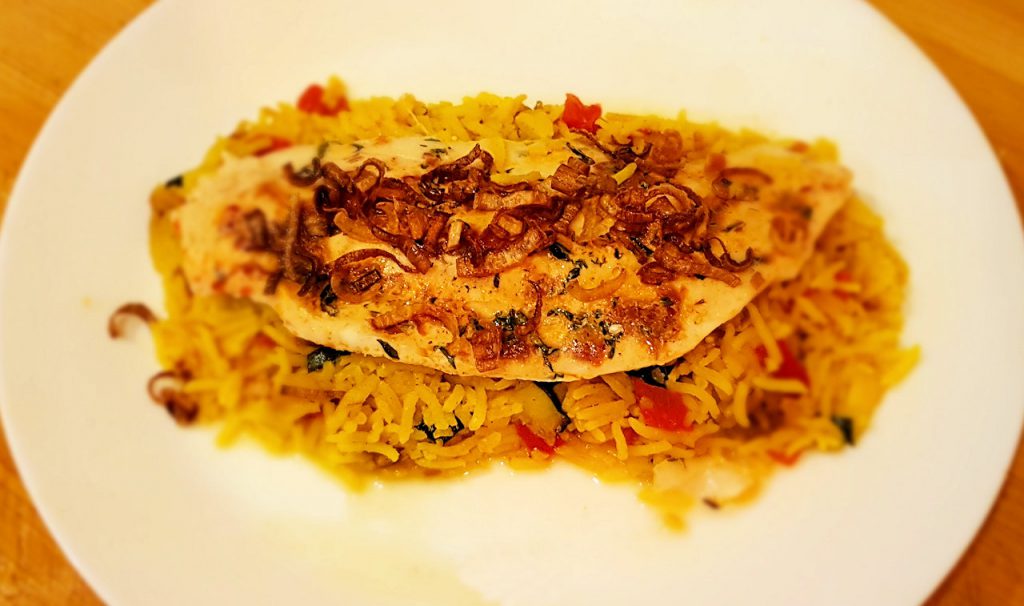
Harrisa poached sea bass
with butter, thyme and lemon, served on a bed of tumeric rice with roasted peppers, grilled courgette and braised fennel and topped with crispy shallots
Thanks to Alana for helping out with this one!!
Make sure that pot of water is hot (not boiling) because that is how you’ll prepare this course. Here are the bits you’re looking for for this course: a bag of rice, the fish, a slice of lemon, vinaigrette, and crispy shallots. The pots will all have ‘2’ on the top. (I think you can work out the fish and rice without numbers – unless you started drinking early.)
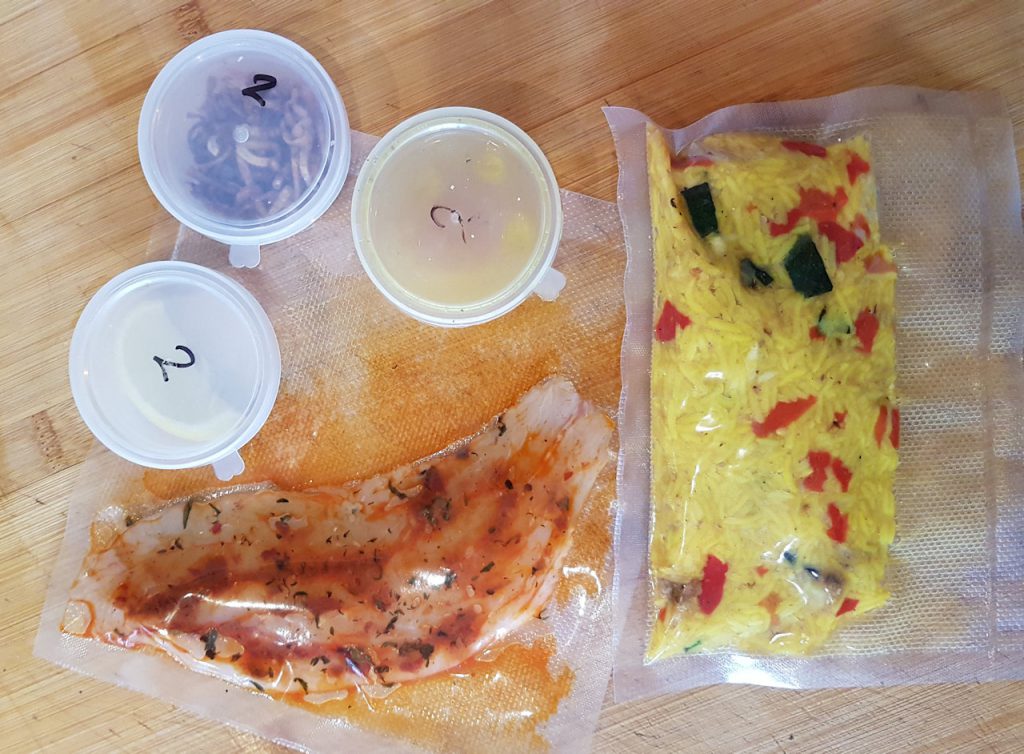
Start by dropping the bag of rice into the pot of hot water. Your water should be just below boiling – if it’s boiling, the fish will cook too quickly and become tough.
After four minutes, add the bag with the fish. This should take around six to eight minutes to cook. You’re looking for the fish to go an opaque white.
Take the rice out with the fish. Start by opening the bag of rice with a pair of scissors or a knife. Pour into the centre of a dinner plate arranging it in roughly the shape of your fish fillet.
Pour some (not too much) of the vinaigrette over the rice. Now open the bag with the fish and carefully remove the fillet (save those juices) and place it on top of the rice. Pour those juices over the fish, give it a squeeze of lemon and then top with the crispy shallots.
Bon appetit!
Best served a crisp unoaked chardonnay, a dry riesling or an aromatic white like grüner veltliner. Or if you prefer beer, go with a light pilsner like a Moritz or Bitburger.
Main course
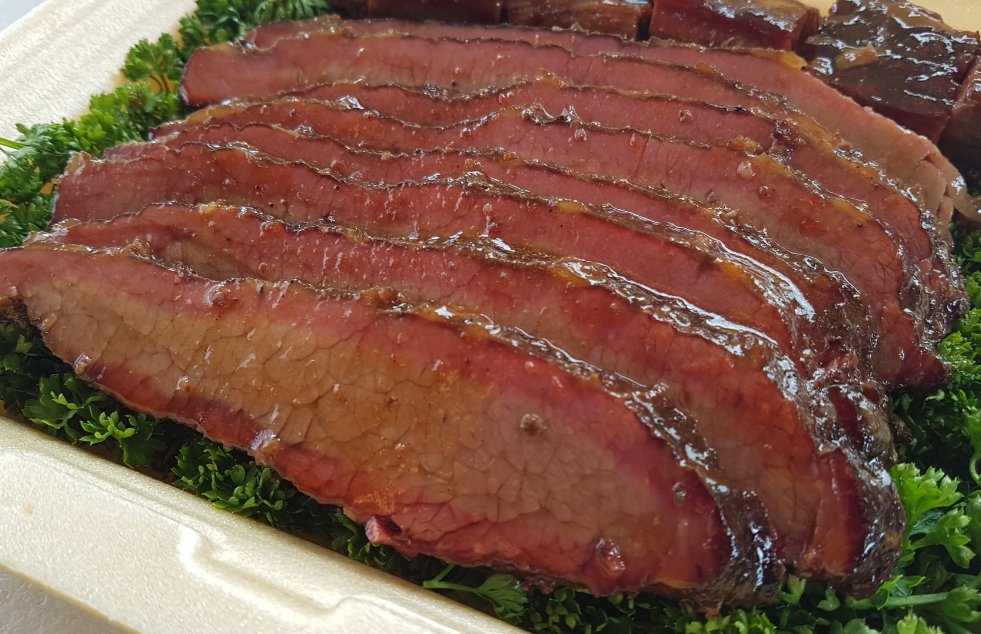
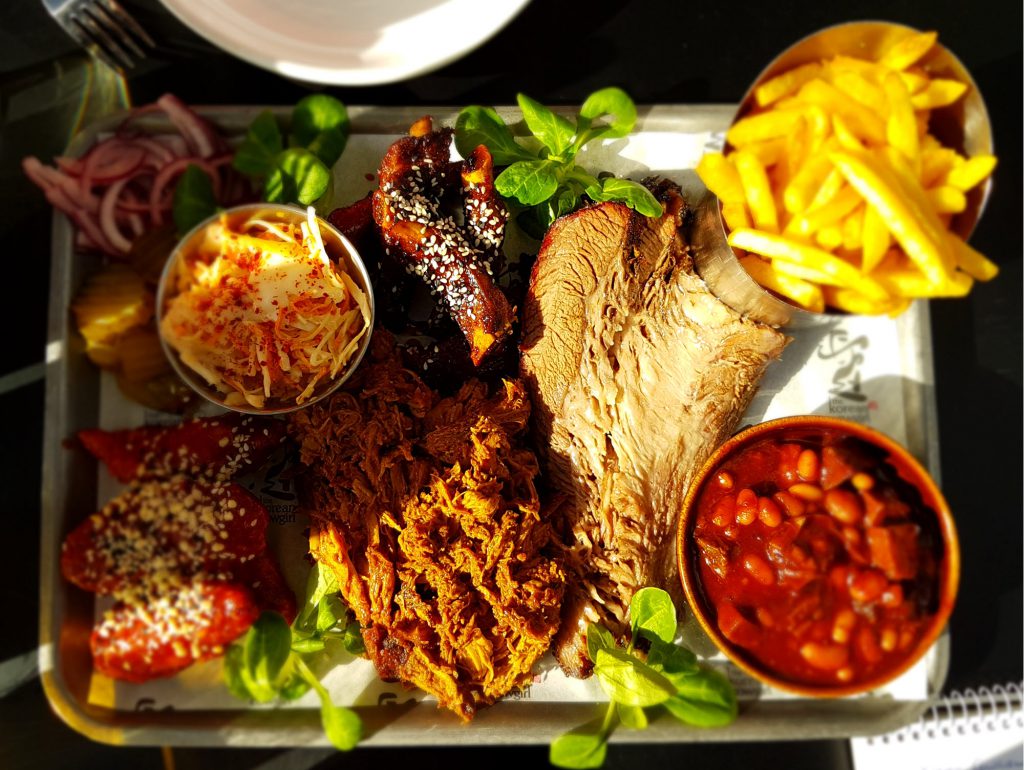
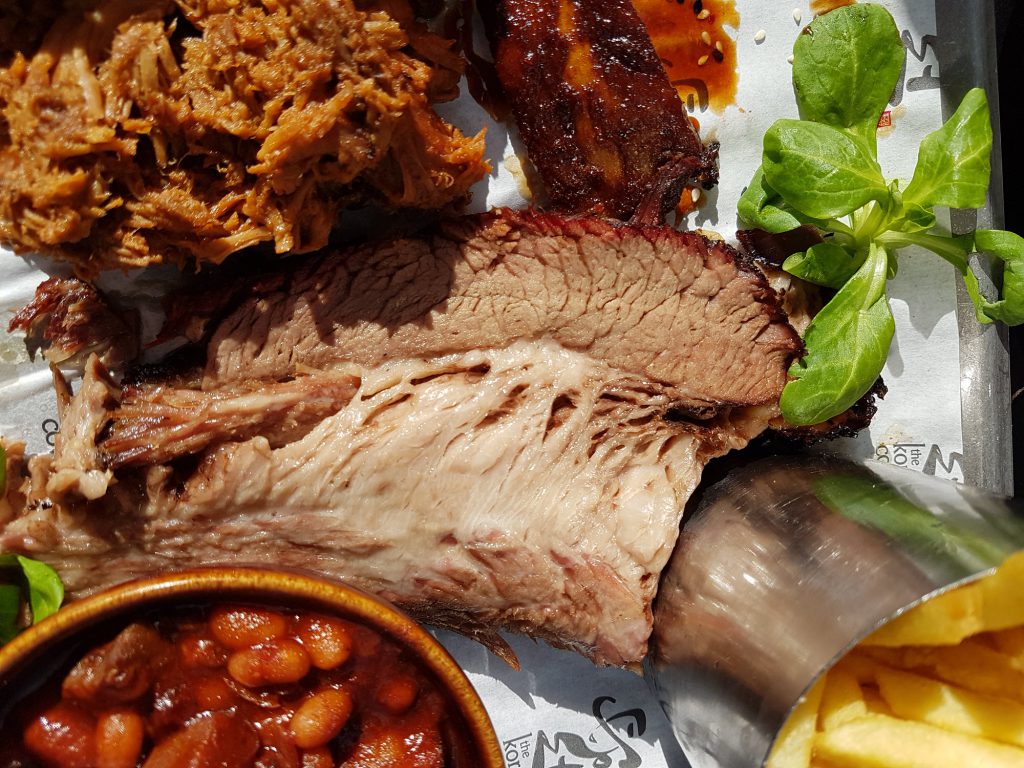
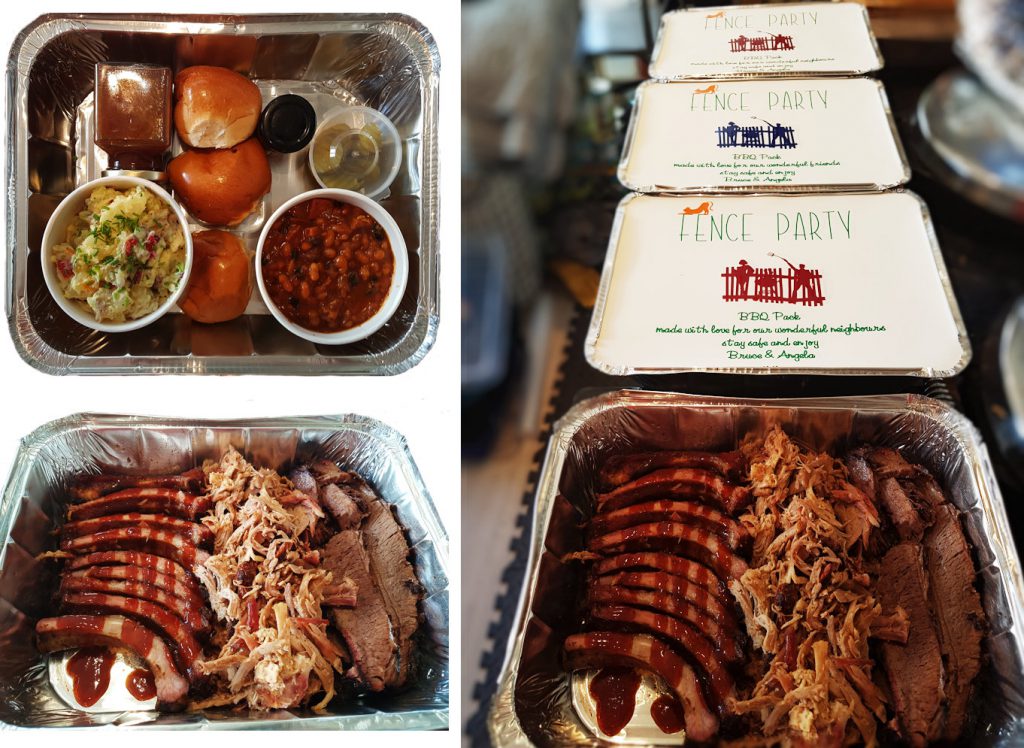
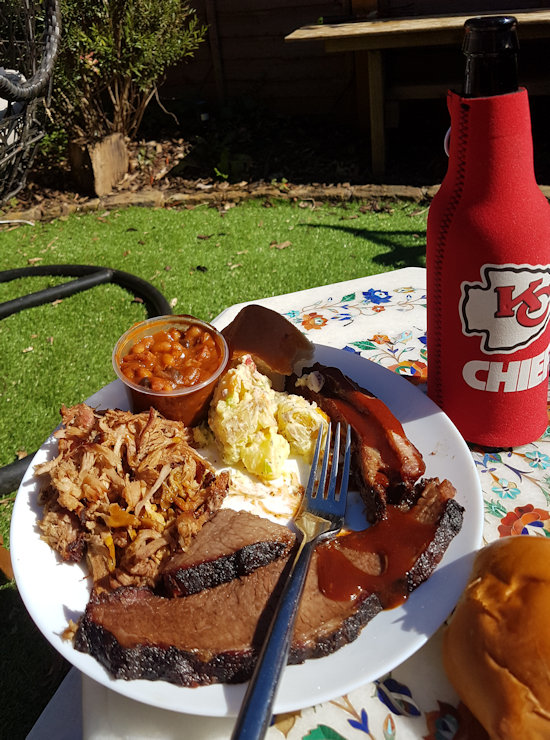
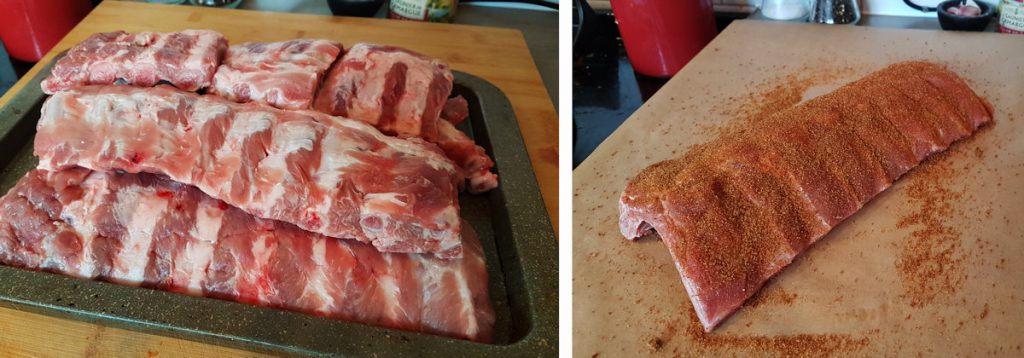
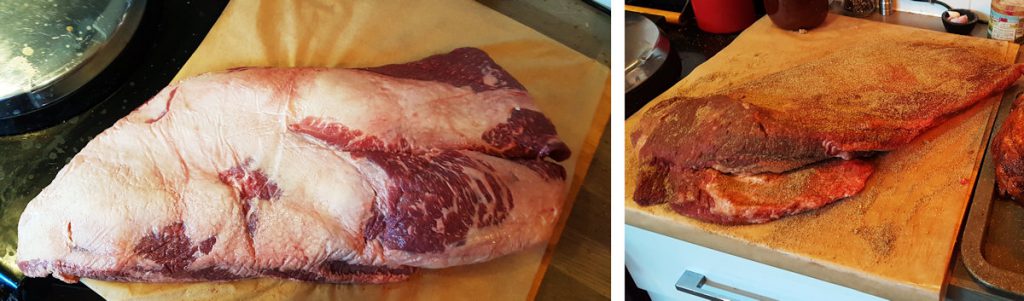
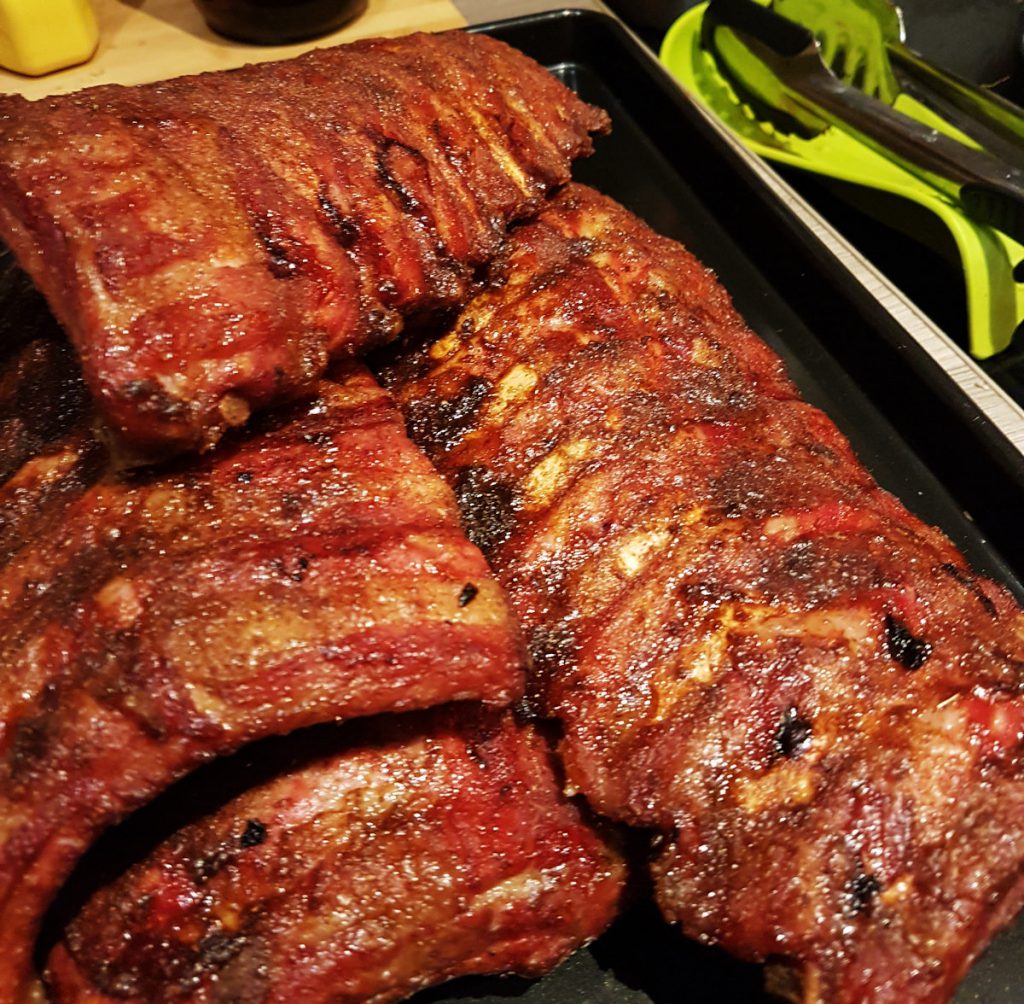
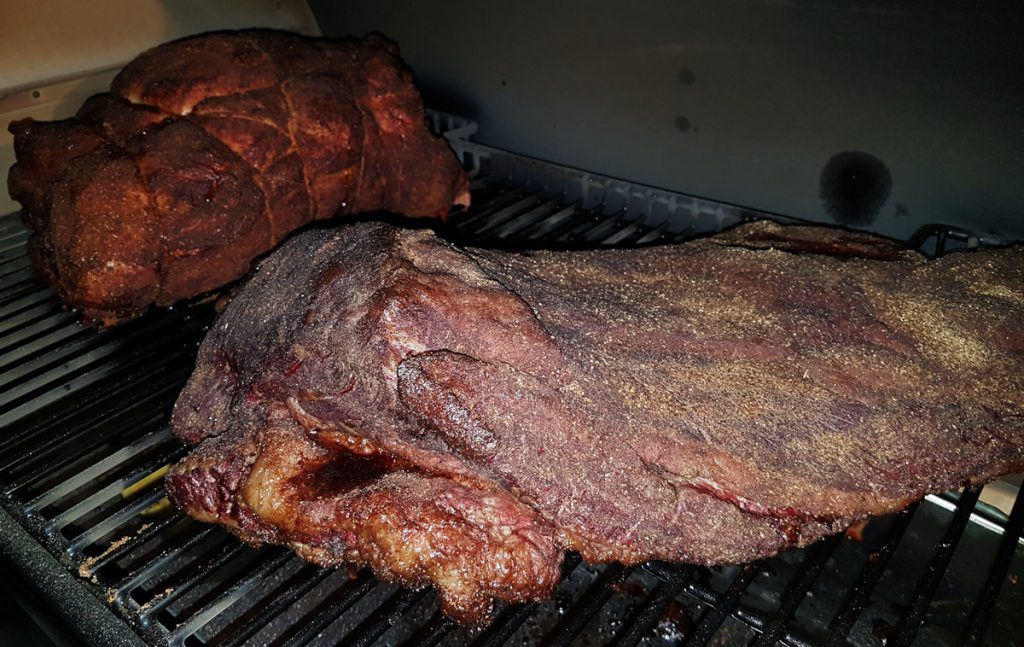
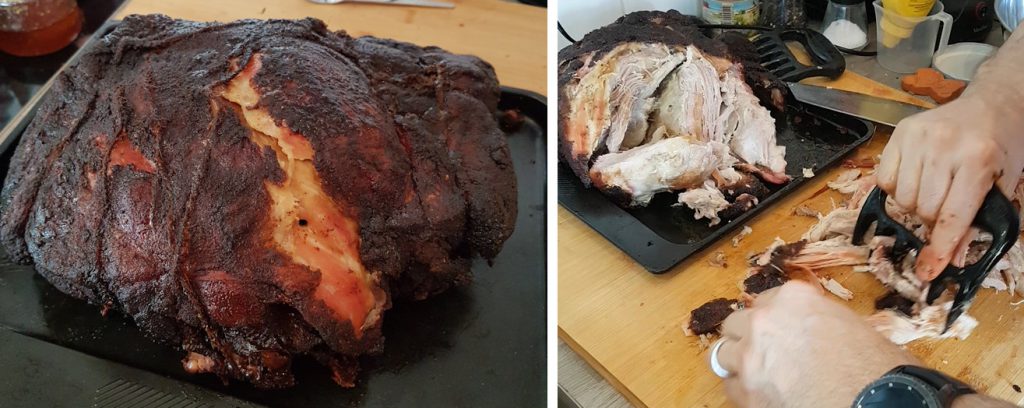
BBQ Brisket
Slow-smoked beef brisket with a mildly-spiced beef jus served with 4-cheese mac-n-cheese, grilled green beans with miso and slices of brioche to soak up those juices.
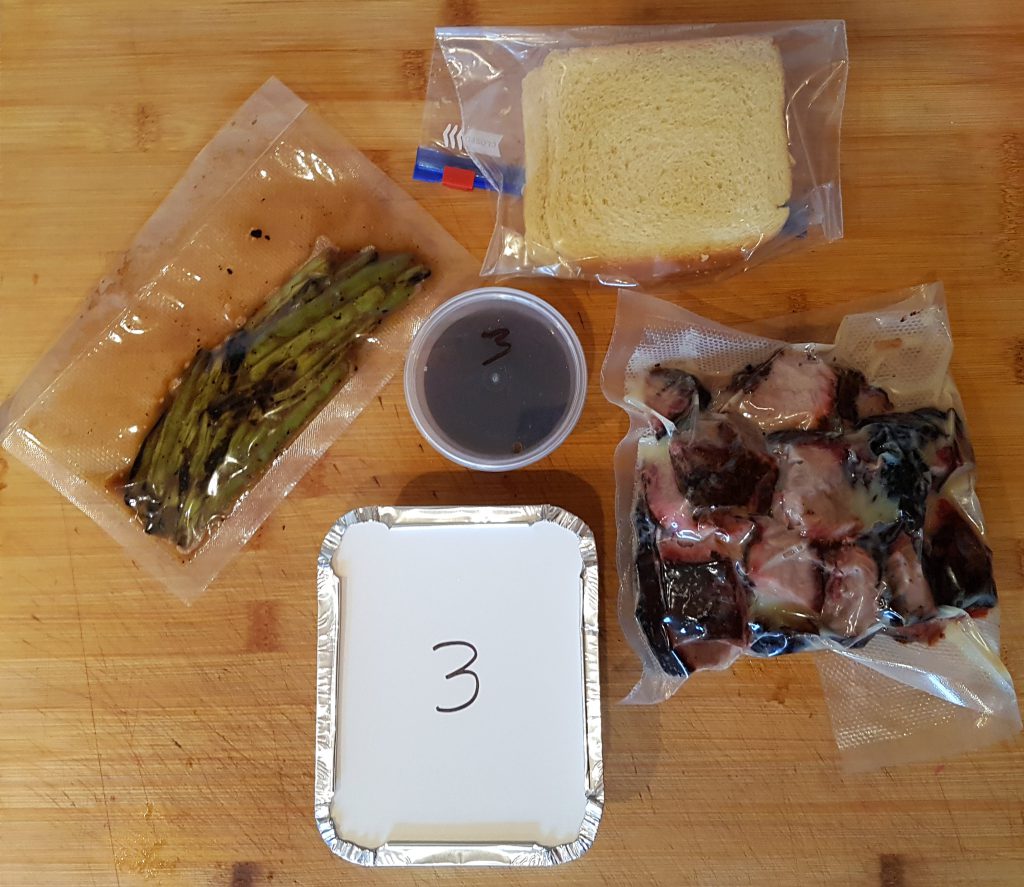
Hopefully that pot of water is still hot – if not, top it up and get it back to just below boiling. This time you’ll need the bag of brisket, the pot of jus, the tub of mac-n-cheese, the bag of beans and the bag of bread — it should be getting easy to guess by this point!
Put your mac-n-cheese into a hot oven (~175-200 deg C), be sure to take off the paper cover first. (Or you can transfer this into a bowl and pop it in the microware.) In the oven, this should take about 8-10 minutes. You’re just looking to get it bubbling slightly. If it’s sort of hissing, it’s ready.
After five minutes, drop your brisket into the hot water. Two minutes later, put the beans in the hot water too.
While this is happening, warm up the jus in the microwave or a small saucepan.
When it’s all hot, it’s time to plate up! Open the bag and pour your brisket onto the plate. You can pour a bit of the jus over it or just dip your meat in it as you eat — as you prefer. Open the bean and pour them onto the plate. And finally add your mac-n-cheese. You’re ready to go.
You can pair this course with a nice tempranillo, malbec or pinot noir. For the beer drinkers, try an IPA like BrewDog.
Final course – pudding!

Old-fashioned peach cobbler
You can pop this in the oven for about 5-7 minutes or scoop it out into a bowl and microwave for 1 minute — just enough to get it warmed, or you can just eat it as it comes. It’s good either way.
This is best served with a bit of vanilla ice cream and a wee dram of whiskey.
I hope you enjoy your evening despite the Covid rules. And congratulations, Conrad!